
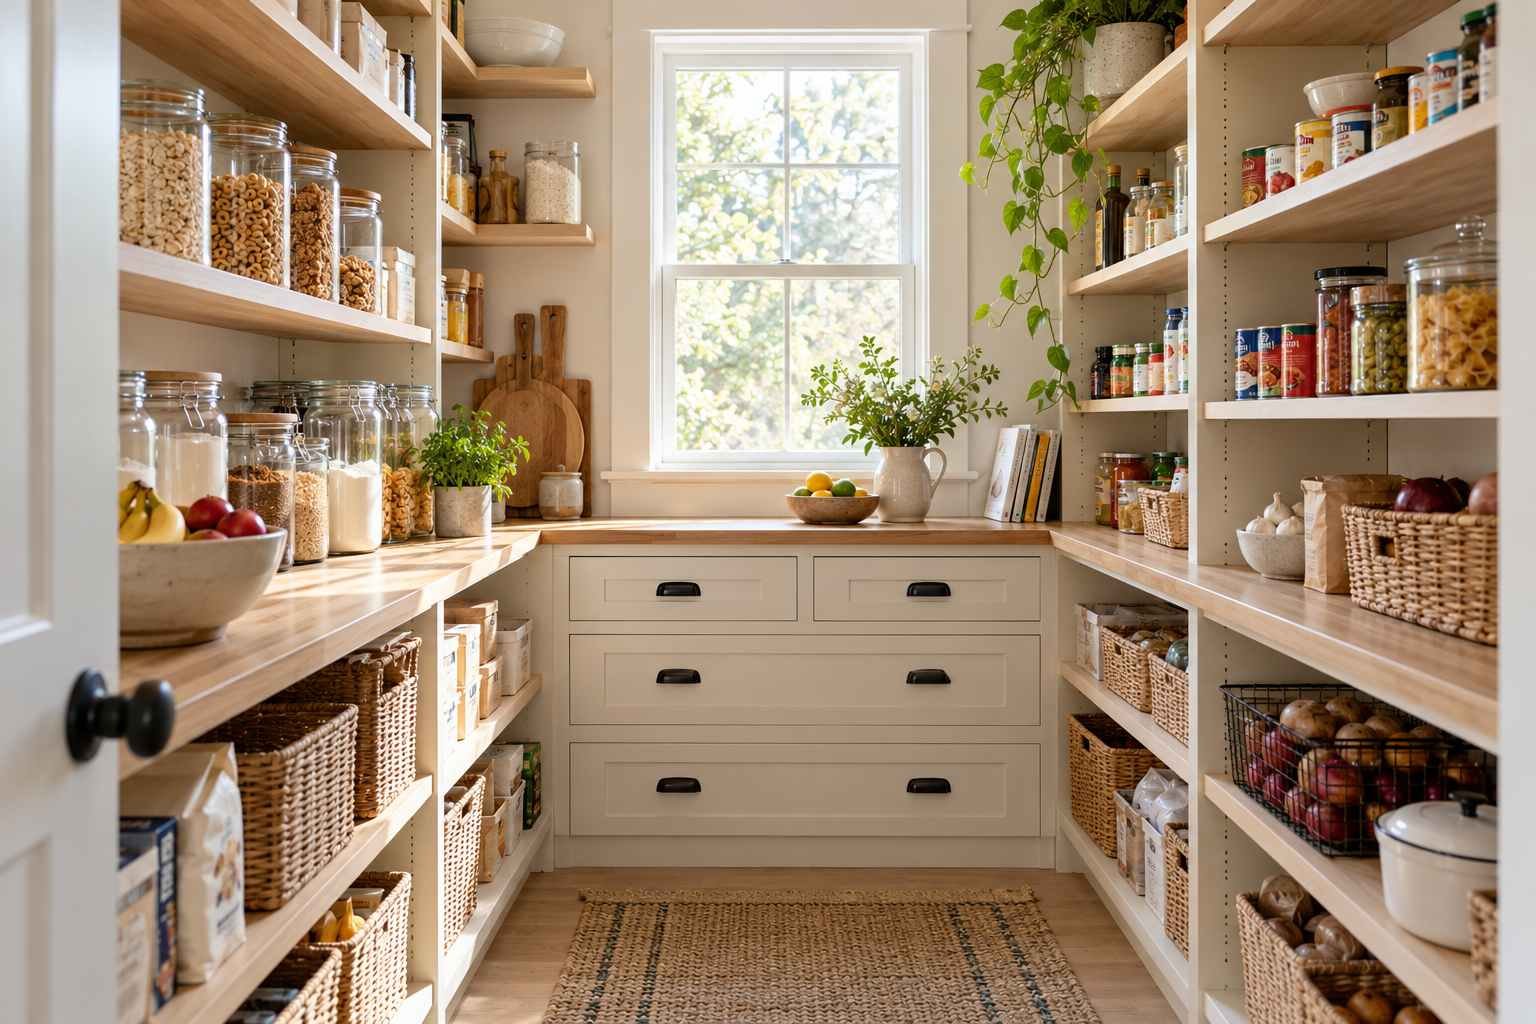
You can organise a kitchen pantry in under an hour if you focus on the shelves you use most and avoid turning the job into a full renovation. Start with a quick clear-out, group food by how you use it, and put everyday ingredients where they are easy to reach. You do not need matching jars or expensive organisers to make a pantry work better.
The time will depend on the size of your pantry and how much food is inside it. A small cabinet may take about an hour to reset; a deep or walk-in pantry may need more time. Use the steps below as a practical starting point, then choose from 11 ideas to keep the system tidy after the initial clean-up.
How to Organise a Kitchen Pantry Step by Step
1. Set a Short, Realistic Goal
Before you start, decide what you want to improve. You might want to clear one crowded shelf, find breakfast ingredients faster, or make snacks easier for children to reach. A focused goal helps you finish the most useful work first, even if you do not have time to reorganise every shelf.
Gather a cloth, a small bin or bag for rubbish, a donation bag if appropriate, and a notepad or phone for a shopping list. Avoid buying containers until you know what needs to be stored and how much space you have.
2. Clear One Section at a Time
If the pantry is small, you can empty it onto a clean counter. For a larger pantry, work shelf by shelf so food does not sit out longer than necessary and your kitchen does not become difficult to use. Keep items that need special storage, such as chilled food, in the correct place.
Wipe shelves with a suitable cleaner and let them dry before returning food. Check corners and shelf edges for crumbs or signs of pests. Follow the cleaner’s label, and do not put food back onto a damp surface.
3. Check Dates and Condition
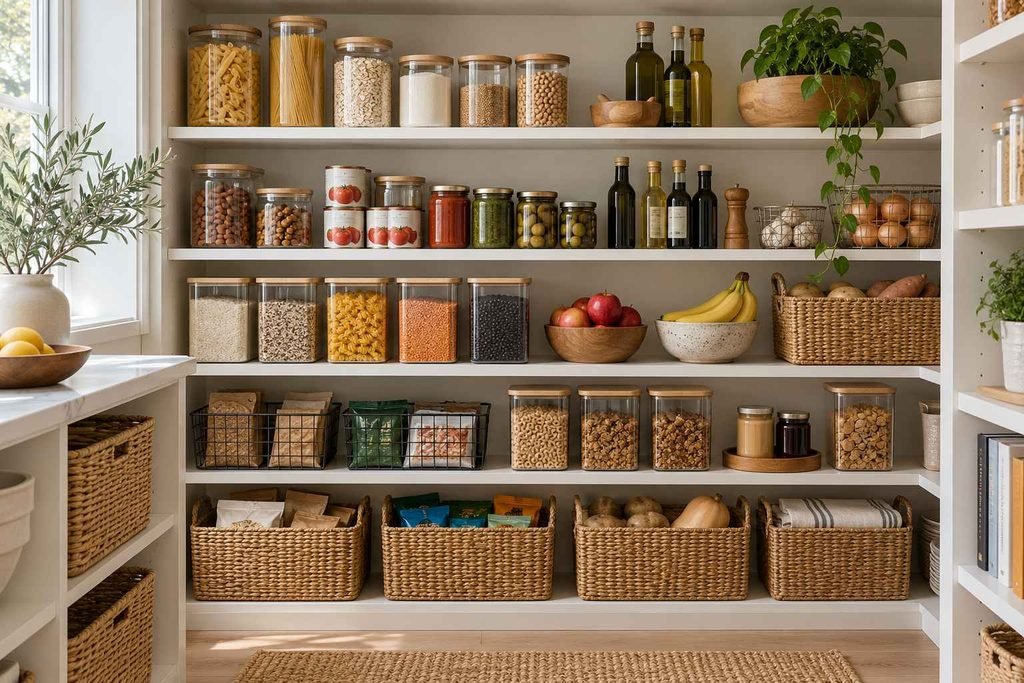
Look at packaging for date labels, damage, leaks, pests, and any storage instructions. Follow the label and local food-safety guidance, especially for products marked with a safety-related use-by date. Do not rely on smell or appearance alone to decide whether a questionable food is safe.
Set aside unopened, in-date items you will not use only if a local food bank or community group accepts them. Check its donation rules before dropping them off. Discard food and packaging that are spoiled, damaged, contaminated, or not suitable for donation.
4. Group Food by How You Use It
Put similar items together so you can find them quickly. Useful groups might include breakfast foods, baking ingredients, grains and pasta, canned goods, snacks, drinks, and cooking basics. Add a category only when you have enough items to make it useful.
Store food near the place where you use it when that makes sense. For example, keep frequently used cooking ingredients together, but store oils and spices away from heat, steam, and direct sunlight so they stay in better condition.
5. Put Items Back in Practical Locations
Place everyday items around eye level or within comfortable reach. Store heavy appliances, large jars, and bulk bags on sturdy lower shelves. Keep rarely used items higher up, but avoid storing heavy objects above your head. Make sure children can reach only the foods and supplies that are appropriate for them.
Before you buy shelf risers, bins, or jars, measure the width, depth, and usable height of the shelf. Include space for the door to close and for your hand to reach items at the back.
11 Kitchen Pantry Organisation Ideas
1. Give Each Shelf a Main Purpose
Assign a broad category to each shelf, such as breakfast, baking, or canned goods. The categories do not need to be rigid. A simple structure makes it easier for everyone at home to return items to a sensible place.
2. Arrange Items by Frequency of Use
Keep daily staples where they are easiest to reach and occasional ingredients on higher or lower shelves. If you use rice, oats, or pasta every week, put them somewhere accessible rather than behind holiday baking supplies.
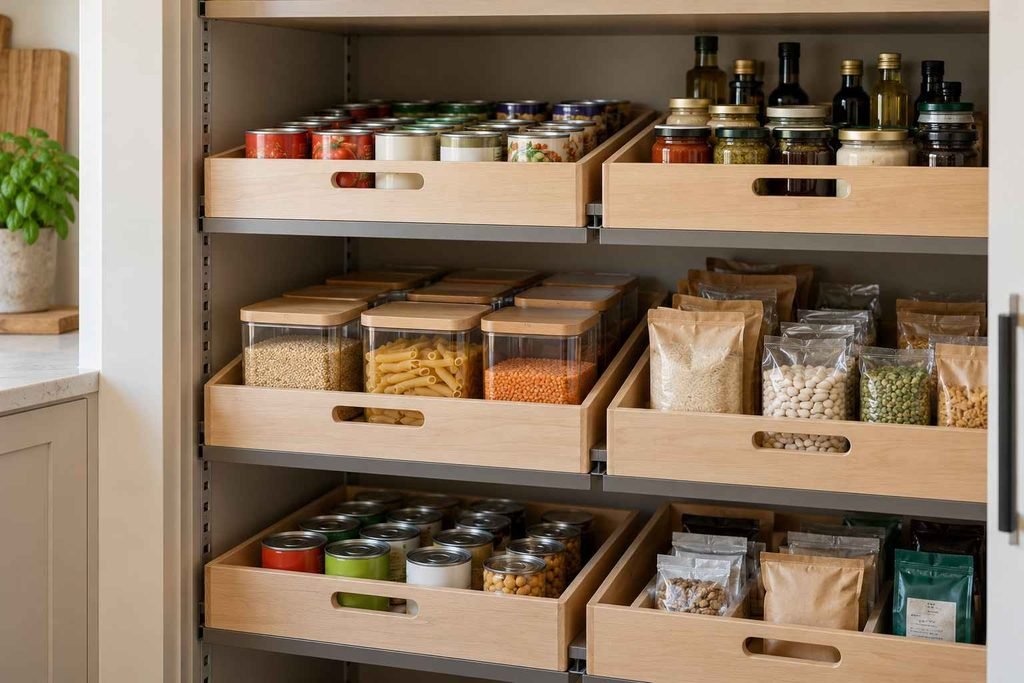
3. Use Bins for Small Packets
Packets of seasoning, snack bars, and baking decorations can slide around and become hard to see. A small open bin keeps them together and can be pulled forward when needed. Choose a size that fits the shelf without blocking other categories.
4. Make Deep Shelves Easier to Reach
Use a shallow, handled bin or a pull-out organiser for small items at the back of a deep shelf. Group similar products in each bin and label the outside if the contents are not easy to see. Avoid stacking bins so high that you have to remove several to reach the food you want.
5. Label Only Where Labels Help
Labels are useful when containers are opaque, several products look alike, or multiple people share the pantry. Include the food name and, when useful, the cooking instructions or date opened. If you transfer food from its original package, keep the package or its important information available, including allergen and preparation details.
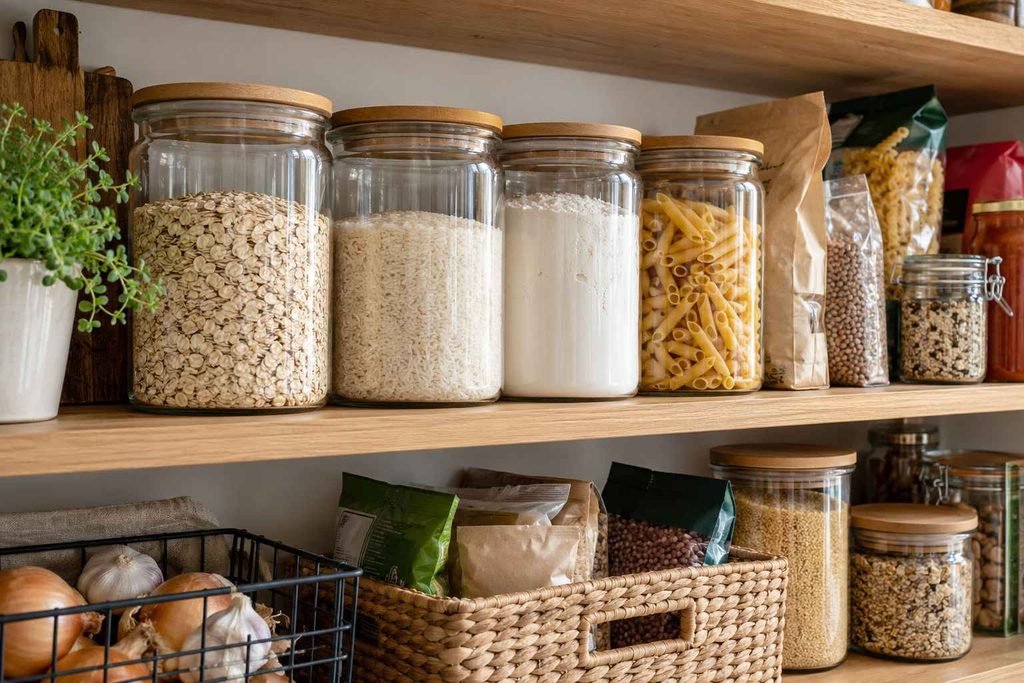
6. Keep Food in Suitable Containers
Airtight containers can help protect dry goods from moisture and pests when they are clean, dry, and appropriate for food storage. You do not need to transfer every item. Keeping some foods in their original packaging can preserve ingredient, allergen, date, and preparation information. Use containers that are easy to clean and sized for the amount you normally buy.
7. Try Shelf Risers for Cans and Jars
A small riser can lift the back row so labels are easier to read. It works best for stable cans and jars that fit safely on the platform. Check the shelf height first, and do not overload a riser or place glass containers where they could fall.
8. Use the Pantry Door Carefully
A door rack can hold lightweight items such as spice packets or small, securely closed containers. Check the rack’s weight limit and make sure it does not stop the door from closing or interfere with hinges. Store heavier jars on a stable shelf instead.
9. Create a Household Snack Zone
Place suitable snacks together in a basket or on a reachable shelf. This makes it easier for family members to find them without shifting other food. Keep products with special dietary or allergy considerations clearly separated and labelled where needed.
10. Make Use of Vertical Space
Adjustable shelves can accommodate tall bottles, cereal boxes, and small jars more efficiently. If shelves are fixed, use a modest riser or a stackable bin where it remains stable and easy to reach. Leave enough clearance to remove items without scraping or tipping them.
11. Keep a Simple Restock List
When you use the last of a staple, add it to a list on your phone or a notepad near the kitchen. A short restock list helps you avoid buying duplicates and lets you notice foods that are not getting used. Check the list against the pantry before shopping.
Choosing Pantry Organisers Without Overspending
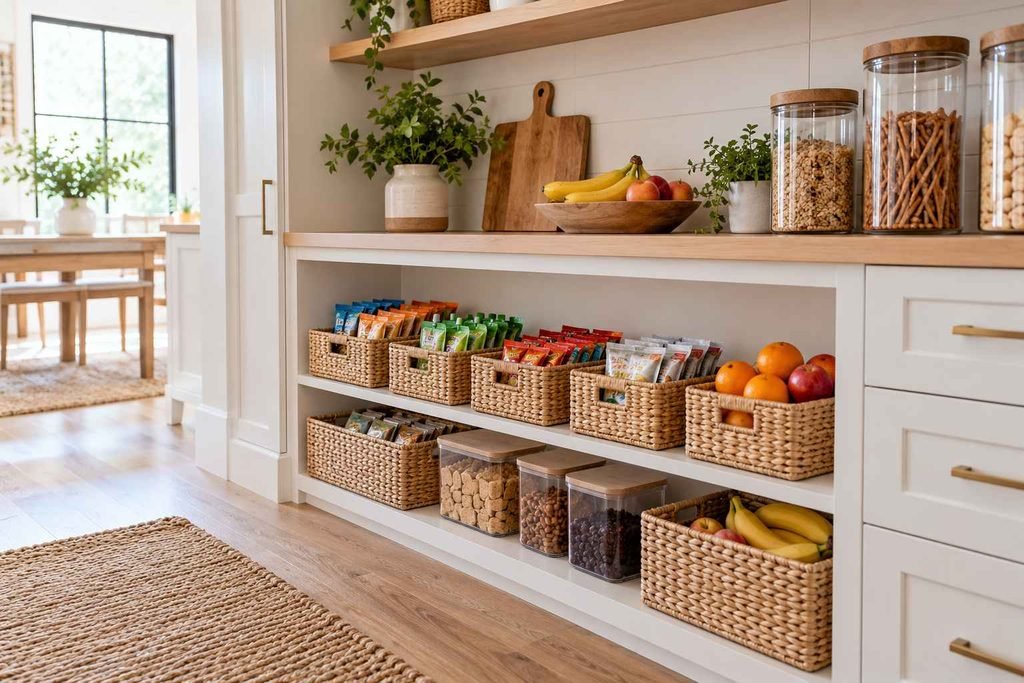
Start with what you already own: sturdy baskets, small trays, or clean containers that are suitable for food storage may be enough. Buy only after measuring and deciding what problem each organiser will solve. A clear container is helpful when visibility matters, while a handled bin may work better for loose packets on a deep shelf.
Choose easy-to-clean materials and avoid overfilling shelves. If you install a wall rack or change shelving, make sure the fittings suit the wall and the expected load. For renters, removable organisers may be easier to use than permanent changes, but check your lease before making alterations.
Benefits and Tradeoffs of an Organised Pantry
A practical pantry layout can save time, make food easier to see, reduce duplicate purchases, and help you use ingredients before they are forgotten. It can also make a small kitchen feel less cluttered because groceries have clearer places to go.
There are tradeoffs. Sorting takes time, and a large set of matching jars or custom drawers can cost more than expected. Containers also need washing and drying before refilling. The best system is one you can maintain with ordinary habits, such as putting groceries away by category and checking the shelves before shopping.
Frequently Asked Questions
How long does it take to organise a kitchen pantry?
A small pantry cabinet may take about an hour if you focus on a quick sort and reset. A deep or walk-in pantry can take longer, especially if you need to clean, measure, or install storage. The time depends on the size and condition of the space.
What is the best way to organise a deep pantry?
Group similar foods in shallow bins that can slide forward, and keep frequently used items near the front. Avoid stacking products in a way that hides dates or makes you move several containers to reach one item.
Should I put pantry food into jars?
Only when it is useful. Food-safe, airtight containers can help protect some dry goods, but original packaging often includes important ingredient, allergen, date, and preparation details. Keep that information available if you transfer food.
Where should oils and spices go in a pantry?
Store them in a cool, dry place away from direct sunlight, heat, and steam. A shelf beside a hot stove may not be the best location because repeated heat can affect quality.
How can I keep my pantry organised after the clean-up?
Return groceries to their categories, add low-stock items to a shopping list, and do a brief check every few weeks. Adjust the layout if a shelf repeatedly becomes cluttered; the system should fit how your household cooks and shops.
Conclusion
A well-organised pantry does not need a complete makeover. Clear one section at a time, check food and packaging, group items by use, and place everyday staples where they are easy to reach. Measure before buying organisers, keep useful package information available, and choose a setup that is simple to maintain. Those small steps can make cooking and grocery shopping easier without adding unnecessary expense.
1 thought on “How to Organise a Kitchen Pantry: 11 Practical Ideas for a Faster Tidy Up”